Quick Links
Baldur’s Gate 3multiclassing opens up all kinds of opportunities to mix and match abilities. This can, if done well, result in some truly incredible combos and create unique and powerful characters. This guide will be discussing an excellent multiclassing combination for making a tanky character, the Hexblade Warlock/Oath of the Crown Paladin.
With the release of Patch 8,Baldur’s Gate 3received what is arguably its strongest multiclass dip yet: The Hexblade Warlock. With a single level in Hexblade, players can use their Charisma Modifier for their attack and damage rolls with melee weapons, while also receiving free healing via Hexblade’s Curse. By combining this with the defensively focused abilities of the Oath of the Crown Paladin, you’re able to create a durable and hard-to-hit character who easily draws aggro and debuffs foes.

Race, Stats, Background, and Skills
When selecting a Race for this multiclass build, there are a few really solid options. Since you’ll be using a lot of weapon attacks, and will often be on the front line of a fight, the Half-Orc’s Savage Attacks and Relentless Endurance can be hugely effective.
Githyanki remain a tremendously powerful choice due to their Astral Knowledge and exceptional racial spellcasting abilities, and Drow Magic plays well with the Devil’s Sight Eldritch Invocation by allowing you access to the Darkness Spell without spending a spell slot once per long rest. We’ll be using Half-Orc, but these other options would work just as well.

Our main stats will be Dexterity, Constitution, and Charisma, as shown by the table below:
8

14
16

10
Charisma
17
Since we can use Charisma as our Weapon Attack stat and as our spellcasting stat, we’ll want to get it as high as possible early on. By taking the Actor Feat at level 4, and then an ASI at level 10 (See the leveling guide), we can easily get Charisma to 20 during Act 3.

While all the backgrounds would work just fine, we’ll select the Guild Artisan for this build. This will give us proficiency in Insight and Persuasion, which are both highly useful throughout the game, and grants inspiration whenever you repair, recover, or otherwise obtain rare crafts.
Rather fitting for a warlock whose pact revolves around sentient magical weapons. We’ll also take proficiency in Arcana and Deception, allowing us to identify magical effects and excel as the face of the party.
![]()
Leveling Guide
At first level,we’ll be starting as a Hexblade Warlock with the cantrips Booming Blade and Eldritch Blast, and the spells Thunderous Smite and Shield. We can use Bind Hexed Weapon to use our Charisma as our weapon attack stat, and apply Hexblade’s Curse to improve our critical hit chance and add our Proficiency Bonus to damage rolls against a target. When a creature with Hexblade’s Curse dies, you’ll restore hit points equal to your Warlock Level + your Charisma Modifier.
At second level,we get to pick two Eldritch Invocations. At this stage, we should get Agonizing Blast and Devil’s Sight, ensuring magical darkness cannot blind us and allowing us to deal decent damage at a distance or up close. We’ll also pick up Armour of Agathys as an extra spell, giving us a way to gain temporary hit points and deal retaliatory cold damage.

Third Levelis when we’ll get a Pact Boon, which we should use to get Pact of the Blade for now. This gives an extra attack at level 5, which stacks with extra attack from Paladin if you aren’t playing in Honor Mode. We also get a 2nd level spell at this level, so grab Blur to make it even harder for enemies to hit you.
At fourth level,we grab Invisibility as an emergency escape tool we can use on ourselves or an ally, the Friends cantrip to help out with skill checks during dialogue, and the Actor feat to gain expertise in Performance and Persuasion while increasing our Charisma to 18.
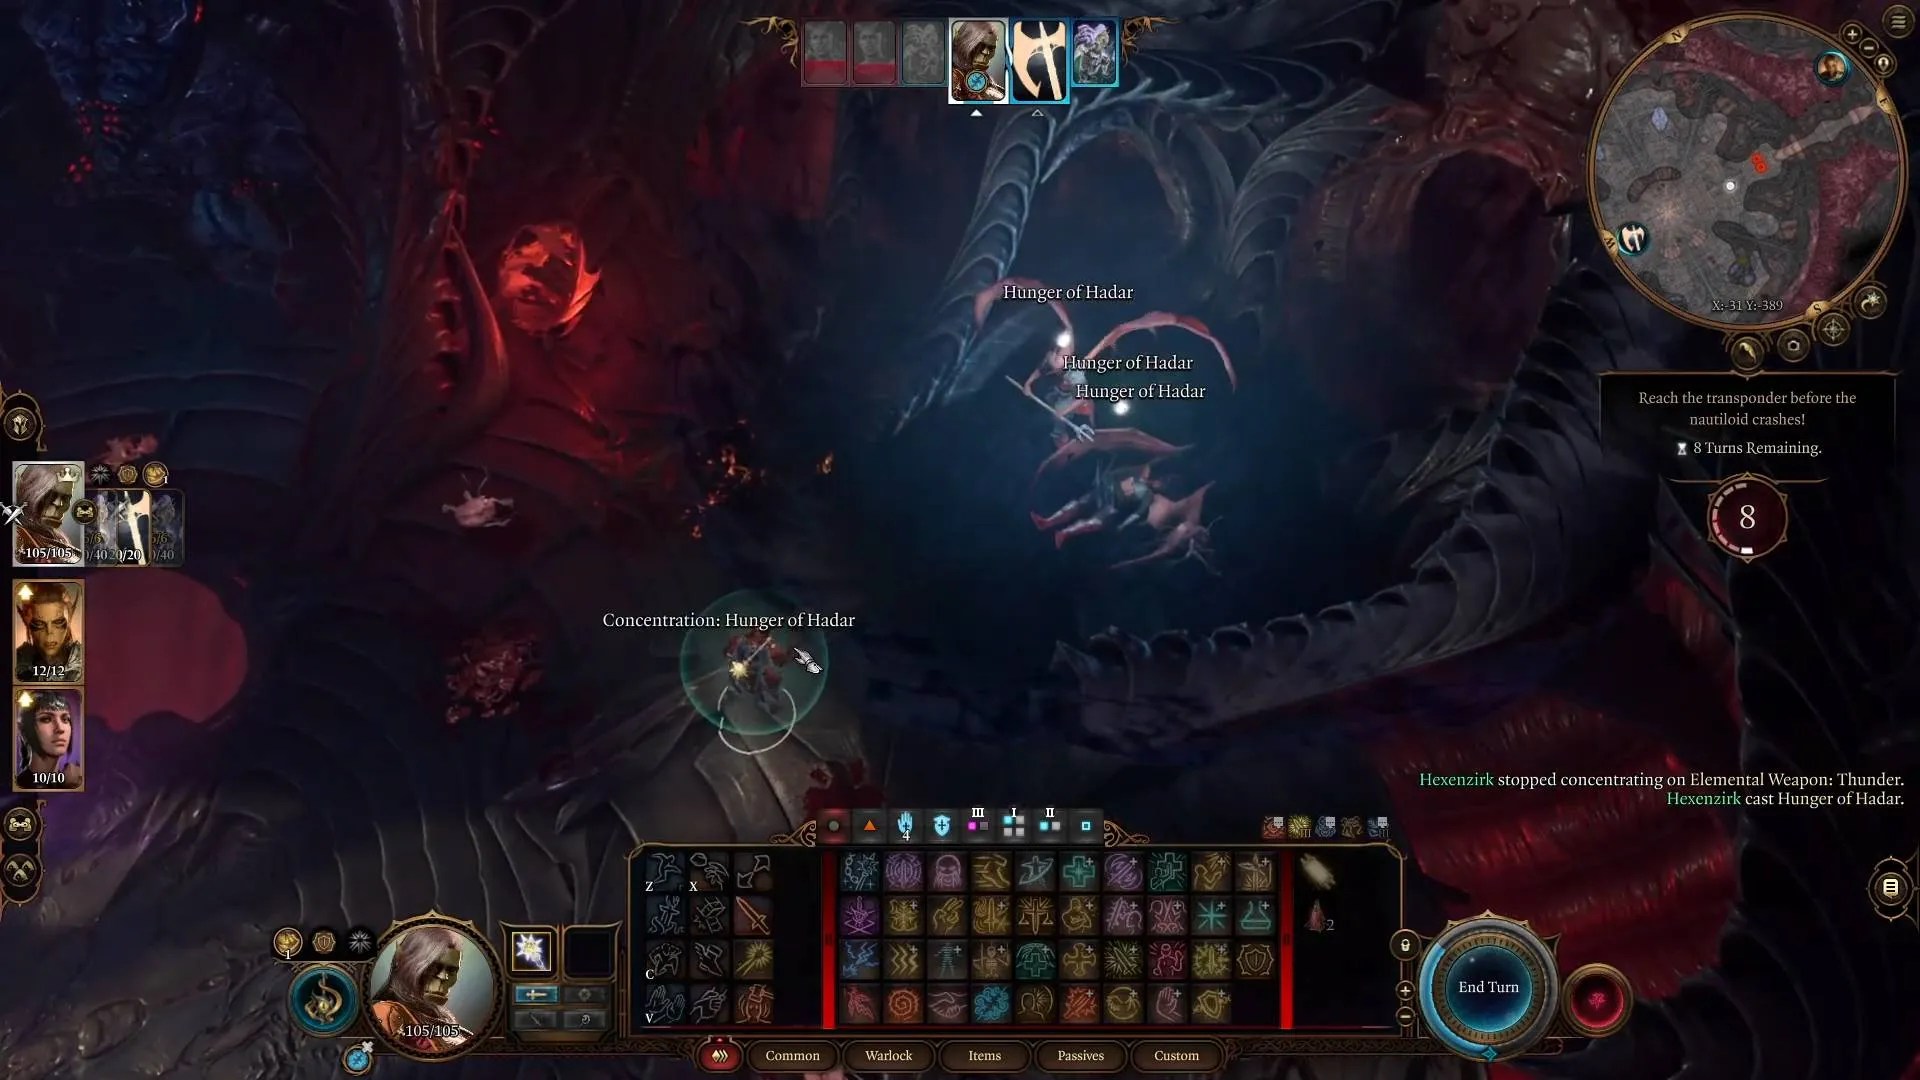
Fifth levelis when you get Deepened Pact, which will manifest in the form of Extra Attack, and we can pick another Eldritch Invocation. This time we’ll take Repelling Blast so we can shove enemies at a distance. For our first 3rd Level spell, we’ll grab Hunger of Hadar to create a terrifying darkness field that causes cold and acid damage, which we can see through using Devil’s Sight and then shove enemies back into it with Repelling Blast. We should also replace Thunderous Smite with Elemental Weapon.
Sixth levelwill be our final level of Warlock, taking Blink to make it even harder for your foes to hit you andgaining the power to raise Accursed Spectres from any creature that dies under the effects of Hexblade’s Curse.Seventh levelis where we take our Paladin oath, choosing Oath of the Crown to gain Righteous Clarity, which spends a Channel Oath Charge to add the target’s Proficiency Bonus to their attack rolls for ten turns.

At eighth level,we continue down the Paladin path, gaining access to Divine Smite and a Fighting Style. Defense works best here, pumping our AC up to around 21 by the point in the game we get it, though you could also use Protection to hinder enemy attacks on nearby allies. You also gain access to Thunderous Smite as a spell here, replacing the version we swapped out at fourth level to get Elemental Weapon.Ninth levelgives us Turn the Tide and Champion Challenge, utilizing Channel Oath to impose disadvantage on enemies targeting your allies and to heal all non-hostiles in range.
Level tengets us our final feat for this build,which we’ll use to get Charisma up to 20.Level elevenis where we reach Paladin Level 5, getting 2nd Level Paladin spells and Extra Attack. If you’re playing in Honor Mode, you should respec here to swap Pact of the Blade for Pact of the Tome, gaining extra spells and avoiding having two instances of Extra Attack that don’t stack with each other.
Finally,at twelfth level,we get Aura of Protection, providing a +5 Bonus to Saving Throws for ourselves and allies within 3m as long as we remain conscious.
Equipment
During Acts 1 and 2,you’re able to acquire some really solid equipment for this build. Starting out, you’ll want to acquire a good weapon to apply Hexed Weapon to. Good options in Act 1 include the Rupturing Blade (Rapier, bought in the Zhentarim Hideout), Svartlebee’s Woundseeker (Greatsword, Found at Waukeen’s Rest on Gauntlet Yeva), Greatsword of Justice (Found on Anders at the Tollhouse), Phalar Aluve (Longsword, Found in the Underdark near the Selunite Outpost), Witchbreaker (Battleaxe, purchased in Creche Y’llek), and the Blood of Lathander (Mace, Found at Creche Y’llek).
It’s worth noting that you’ll need to swap to a one-handed weapon to make use of the shields mentioned later on, though early on, that won’t matter too much.
For good early armor,grab the best Medium Armor you can get from Dammon at the Emerald Grove,then replace it with the Luminous Armor from the Underdark as soon as possible. This will allow you to cause Radiating Shockwaves with any attack that deals Radiant Damage, which you’ll be doing a lot later on. ensure to get the Ring of Protection from the Emerald Grove and Crusher’s Ring from the Goblin Camp, allowing you to increase your AC and movement speed.
You should also get either the Safeguard Shield or the Absolute’s Warboard (only use the latter if you get the Brand of the Absolute from Priestess Gut), and take down Minthara for her Boots of Striding. These boots will make it much harder for enemies to break your concentration by making it impossible to move you or knock you prone while you’re concentrating on a spell.
Once you’re comfortable venturing into the most dangerous parts of Act 1,you should get the Holy Lance Helm, Ring of Arcane Synergy, Ring of Elemental Infusion, Boots of Stormy Clamour, and Gloves of Belligerent Skiesfrom Rosymorn Monastery/Creche Y’llek.You can also pick up the Periapt of Wound Closure from Lady Esther for maximized healing and guaranteed stabilization when downed.
You should also visit the Adamantine Forge in the Underdark to forge an Adamantine Shield, gaining immunity to Critical Hits and leaving enemies who fail to overcome your AC Reeling, a condition that will reduce their attack rolls.
After entering Act 2,you can swap the Adamantine Shield for the Shield of Scorching Reprisal, which allows you to raise your AC by 1 and dish out fire damage to enemies that miss you with melee attacks for one turn. You can also pick up the Thunderskin Cloak from Araj Obladra in Moonrise Towers, and the Spineshudder Amulet from Isobel’s Bedroom in Moonrise Towers to further strengthen your Reverberation generation.
This will penalize enemy attack rolls and potentially knock enemies prone, working alongside Radiating Orbs to make it difficult for anything to hit you. An alternative to the Thunderskin Cloak would be the Cloak of Protection, sold by Quartermaster Tali at the Last Light Inn.
To help with generating Radiating Orbs,you should also grab the Coruscation Ring from beneath Last Light Innand the Callous Glow Ring from the Gauntlet of Shar, allowing you to deal extra Radiant Damage to illuminated targets and inflict radiating orbs with your spell attacks whenever you’re illuminated. It may be worth only using the Coruscation Ring and keeping the Ring of Protection if you aren’t using the Cloak of Protection, at least until Act 3.
Speaking of Act 3,when you enter Act 3, you should grab the Helm of Balduran as soon as possible, raising your AC and providing you with healing each turn. You should also switch out the Shield of Scorching Reprisal for Ketheric’s Greatshield, giving you a boost to spell attack rolls and saving throws. If you want to emphasize defense at the expense of that boost,you should swap Ketheric’s Greatshield for Viconia’s Walking Fortress once you’re able to get it.
The Unflinching Protector Amulet is great if you may get hold of it, too, since it can force enemy attacks to miss your allies once per short rest, but the cost of obtaining it story-wise may be too much. Sticking with the Spineshudder Amulet is a great way to go, but you could also use the Amulet of Greater Health if another party member doesn’t need it more.
Finally, you can trade the Thunderskin Cloak for the Cloak of Displacement to impose disadvantage on all incoming attacks until the first time you get hit each turn.
Playstyle
The Goal with this build is to make it as difficult as possible for the enemy to reach your party. Initially, the Warlock Levels will accomplish this by utilizing spells like Hunger of Hadar in conjunction with repelling blast to trap most foes inside a cloud of death, while stacking Radiating Orbs and Reverberation on them to penalize their attack rolls and stop them from hitting anything.
Using Accursed Spectres (and undead, once you swap to Pact of the Tome) you’re able to clutter the battlefield with additional threats to split enemy attention even further.Once you start getting the Paladin levels, you can mix in Compelled Duel and Channel Oath: Champion Challenge to encourage enemies to target you over your allies, ensuring that anything you can’t keep away from your allies will prioritize you.
