Quick Links
Choosing your starting class can be a tough decision in most ARPGs, andThe Slormanceris no exception. In this quirky, humorous take on the genre, you get to pick from one of three preset classes and hunt down monsters as you work to restore the kingdom to its former glory.
Each class inThe Slormancerbrings something unique to the table. Whether you enjoy getting up close with the enemy or prefer poking from a distance, the game gives you all the tools to shape your build exactly how you want. In this guide, we’ll give you a quick overview of all three starting classes and help you decide which one to pick.
All Classes in The Slormancer
InThe Slormancer, there are three classes that you can choose from, each with its own unique set of skills and strengths. Like any solid ARPG, each class plays differently, allowing players to approach the game the way they like it. Here’s an overview of each of the three classes in the game:
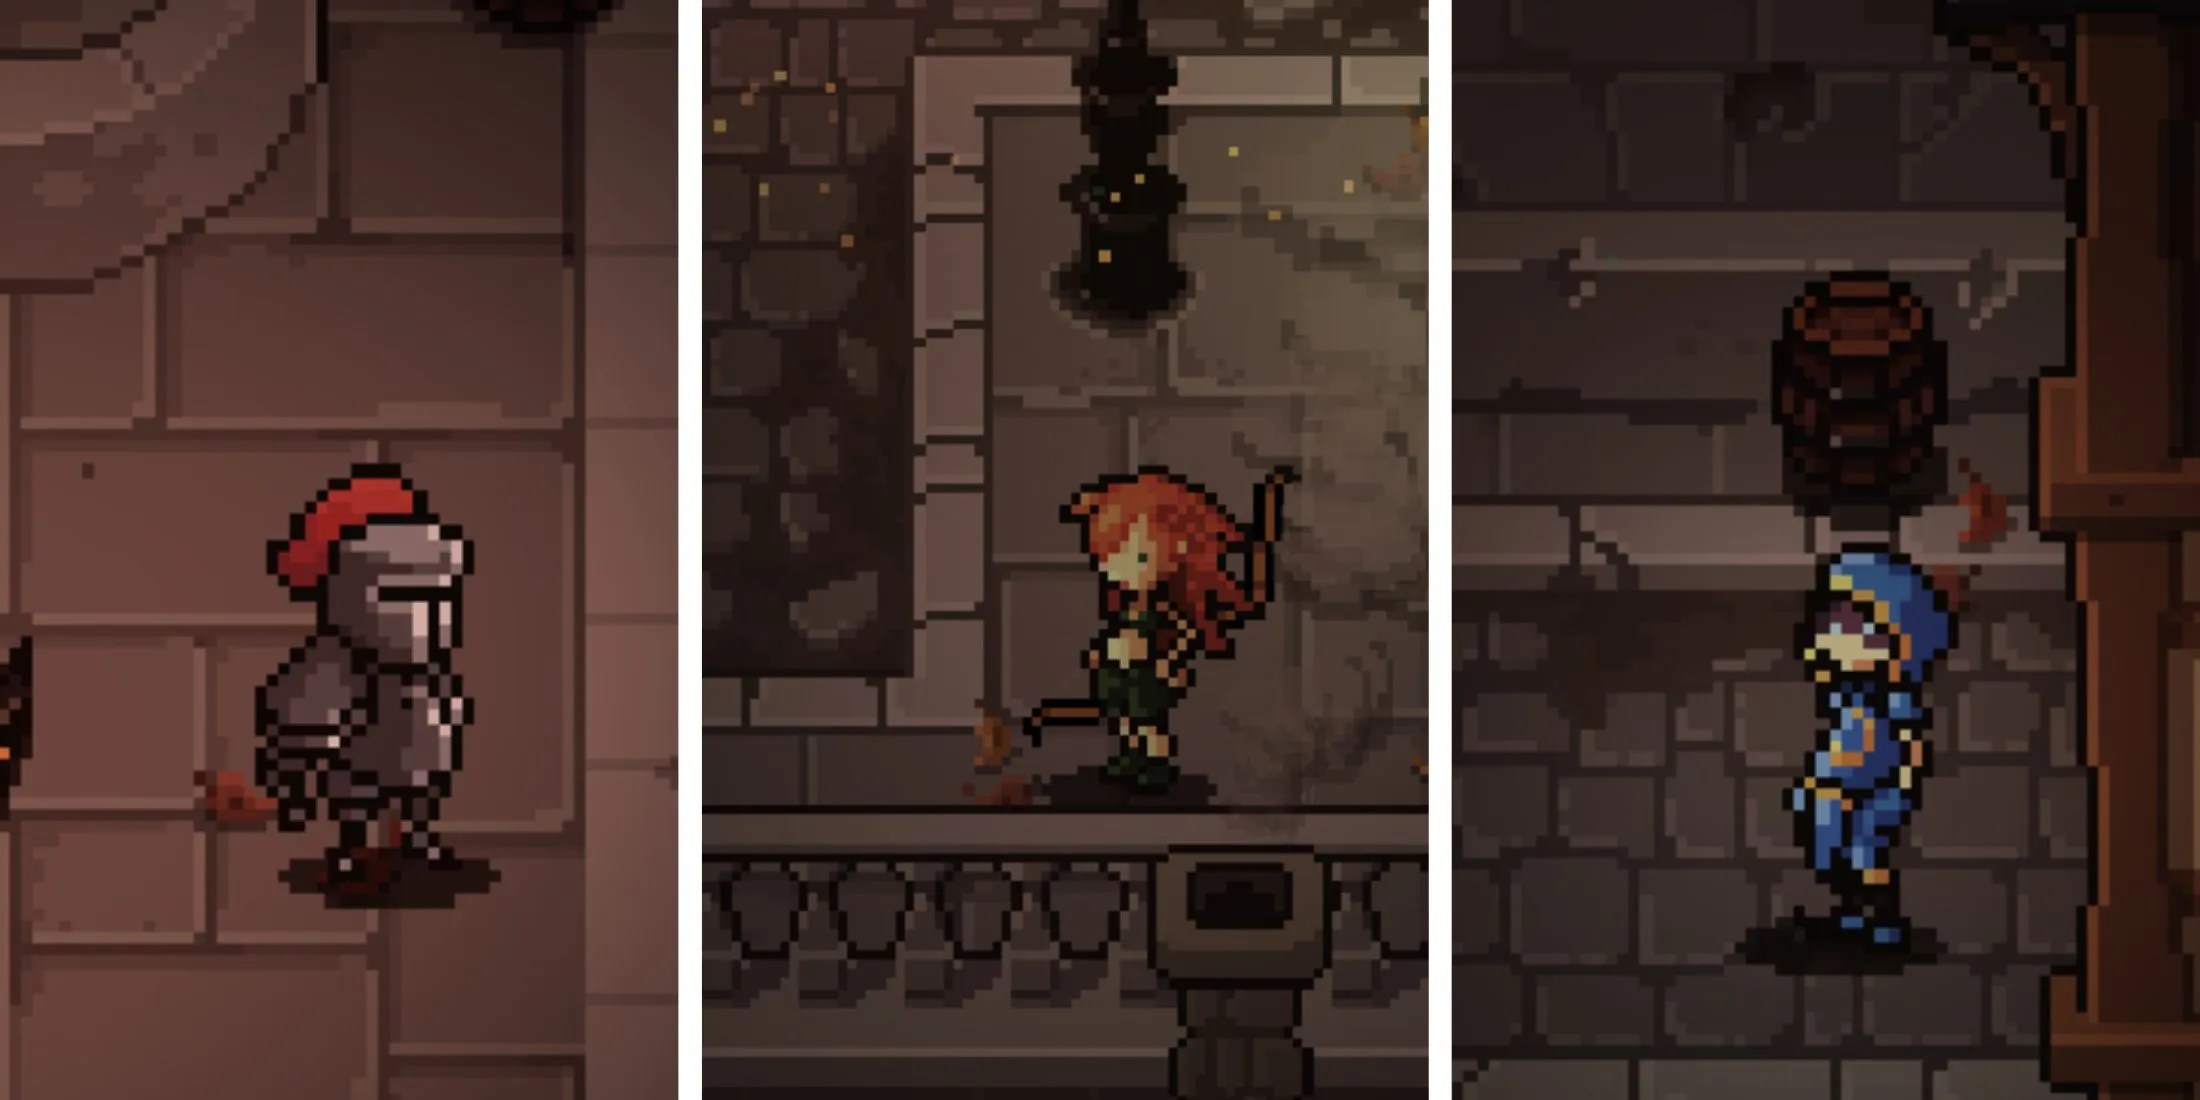
The Mighty Knight
The Mighty Knight is your classic melee bruiser. Perfect for players who enjoy getting up close and personal with enemies. He excels at tanking damage and dishing out powerful attacks. He starts with Mighty Swing, a wide cone-based class skill that hits multiple enemies in front of him.
Here are the rest of his class skills that unlock as you level up.

Throwing Sword
Projectile
Throws 3 swords at once that deal damage and apply Bleed.
Cadence
Melee
Fast single-target attack. Every 5th cast creates a stronger attack in a larger area.
Crest Shield
Special
Throws the Crest Shield at the target location, dealing area damage.
The Elder Lance
Summons the Elder Lance, which deals skill damage at the target location.
The Mighty Knight has the following specializations unlocked at level 10.

The Distinguished Knight uses Banners of War as his support skill to drop random banners that either buff him or debuff his enemies. It’s a well-balanced specialization that supports flexible builds whether you’re focusing on offense or defense. It’s easily the most versatile option for the Mighty Knight.
The Haphazard Champion thrives on randomness and chaos. With Ascension as his core skill, he deals area damage that can trigger bonus effects like Astral Retribution. If you enjoy flashy, reactive gameplay where skills chain together unpredictably, this one’s for you.

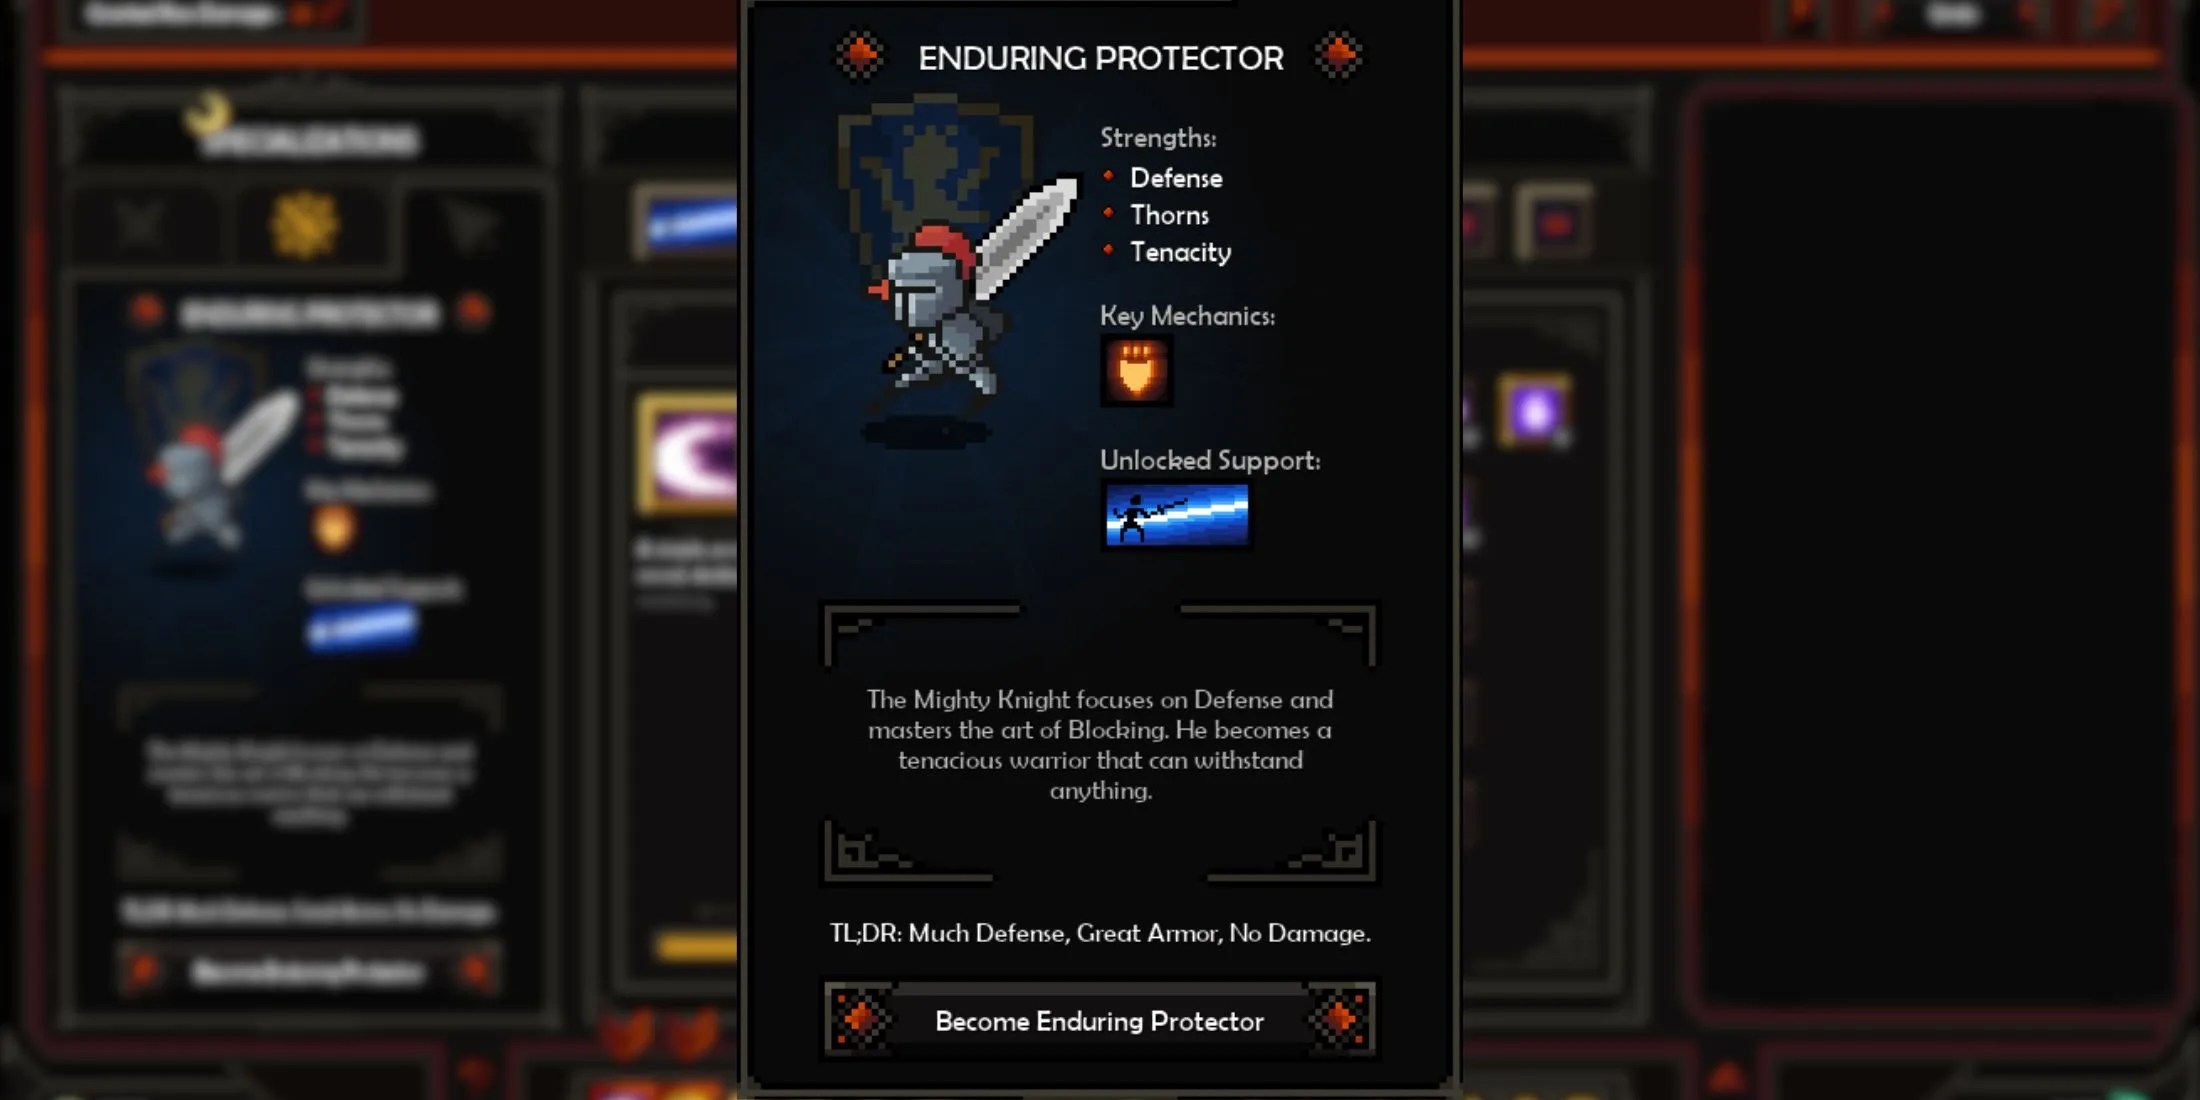
The Enduring Protector turns the Knight into a powerful tank. You get Deflect as your support skill, which lets you negate and reflect damage back at enemies. This specialization focuses purely on defense and survival, relying on Thorns, Deflections, and Astral Retribution effects to clear out mobs.
The Fierce Huntress
The Fierce Huntress serves as the Ranger of the trio and excels at fighting from a distance. But she can also get up close and personal if you build around her Ravenous Dagger. The character starts off with Arrow Shot, which is a basic projectile attack with a low cooldown, allowing you to take out enemies from a safe distance.
As you level up the character, she gains access to the following class skills:
Rain of Arrows
Area of Effect
Shoots a volley of arrows that falls into a target area, dealing skill damage.
Stab
A quick stab attack that deals low skill damage at close range.
Heavy Explosive Projectile
Projectile, Area of Effect
Shoots a large projectile that explodes after hitting an enemy, dealing area damage.
Fist of the Wild

Deal skill damage within melee range and apply Latent Storm.
Void Arrow
Fire a Void Arrow, dealing skill damage. It can be charged to deal more damage and fire multiple arrows at once.
Finesse
A powerful thrust attack that hits enemies in a straight line, dealing skill damage.
Immortal Arrow
A powerful arrow that pierces through enemies and deals additional effects.
The Fierce Huntress has the following specializations unlocked at level 10:

The Architect of Death uses Turret Syndrome as her support skill, laying down a Portable Ballista that automatically hits enemies in range. This playstyle typically involves careful positioning and control over the battlefield.
Sharpshooter of the Wild builds on The Fierce Huntress’s long-range strengths. It uses quick, high-damage arrows to take down enemies before they even reach you. Tumble becomes a key skill here, especially when upgraded to pull Ravenous Daggers back to you. Evasion serves as your primary defense with this specialization.

Mist-Walker plays more like a Rogue/Assassin, focusing on the Fierce Huntress’s melee skills. This specialization focuses on creating Ravenous Daggers and using Ravenous Ballet to detonate them all at once. The Smoke Screen support skill turns you invisible, allowing you to close in on enemies to deal massive damage.
The Mischievous Mage
Last but not least, the Mischievous Mage is the spell caster of the group and specializes in elemental magic. He starts off with the Arcane Missile, which is a powerful projectile spell that inflicts elemental damage.
As you gain more levels, you can unlock the following class skills with the character:

Ray of Obliteration
Special, Obliteration
Starts channeling a damaging ray that gains more damage over time.
Book Smash
Melee, Obliteration
Drop a Big Large Book on the head of a target enemy, dealing skill damage.
Rift Nova
Area of Effect, Temporal
Summon a Rift Nova at a target location, dealing damage to nearby enemies.
Chrono-Puncture
Melee, Temporal
Attack an enemy with a Time Blade that deals damage and inflicts Traumatized stacks.
Attunement Pulse
Special, Arcanic
Cast a damaging pulse in front of you that applies a Discordance effect based on the current School of Magic.
Arcane Breach
Area of Effect, Arcanic
Create an Arcane Breach at the target location for 7 seconds that deals damage to nearby enemies.
Projectile, Arcanic
Cast a powerful orb that deals damage and pierces enemies.
The Mischievous Mage has the following specializations unlocked at level 10:
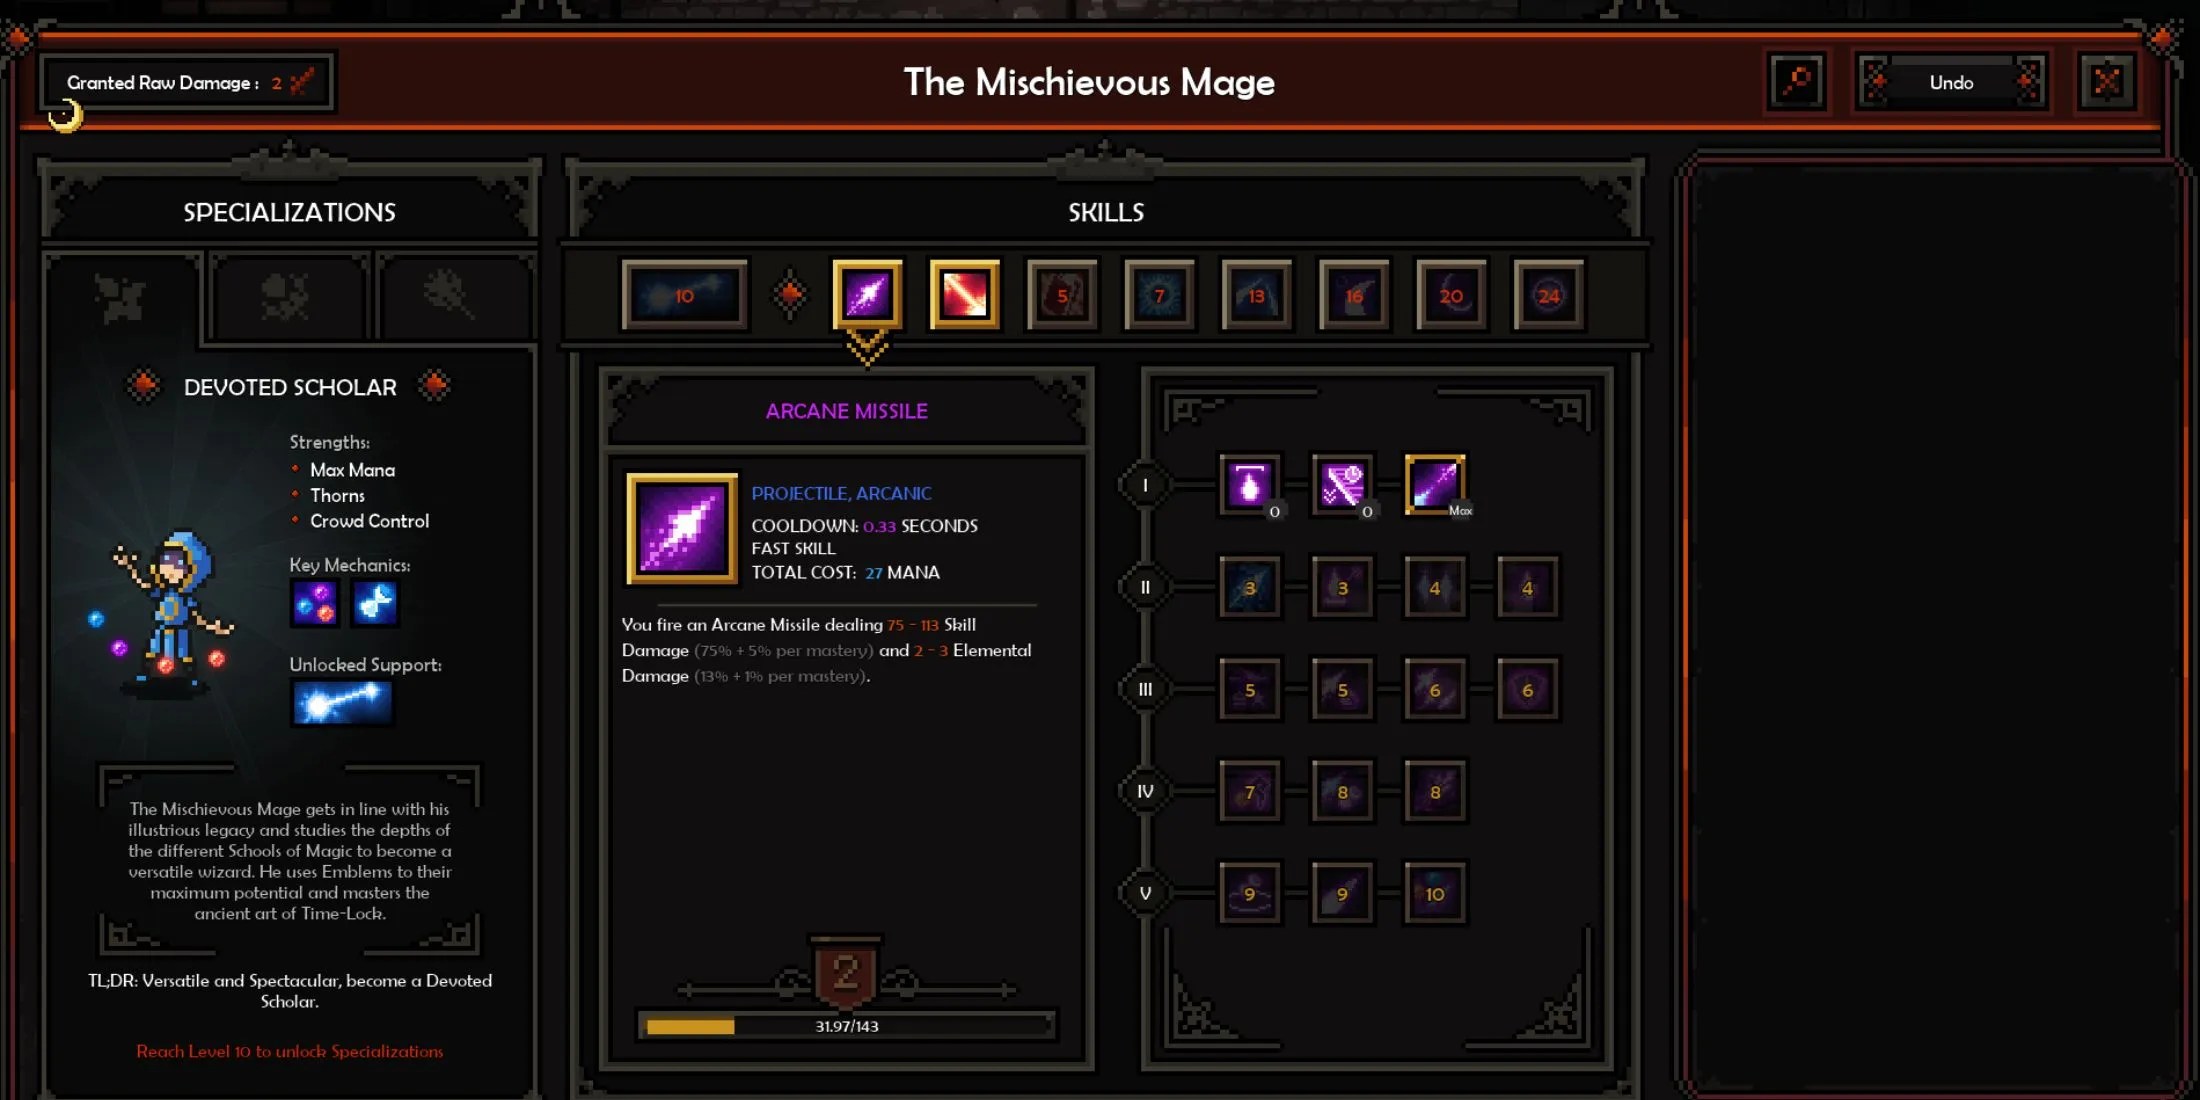
The Devoted Scholar is a flexible specialization that balances both offense and defense. With Wall of Omen as your support skill, you get a magic barrier that can slow down both enemies and their attack projectiles. You can build around Emblems from different schools to increase speed, cooldown, or spell power.
The Phlegmatic Caster scales incredibly well into the late game but takes some investment. The Temporal Clones at first glance don’t seem that effective apart from a small distraction. However, once you put a couple of levels into the tree, you can control the battlefield more efficiently with your clones.
The Arcane Commander is a minion-style Mage that creates Arcane Clones to mimic your spells. Late game, you can have up to three Arcane Clones active at once, essentially quadrupling your damage output from skills.
Which Starting Class Should You Choose in The Slormancer?
Unlike traditional ARPGs,The Slormancerdoesn’t lock you out of otherclasses once you start the game. After a couple of missions, you get some optional quests to unlock the other two characters, and you’re able to switch between them from the main hub any time you want. You can also complete the same quests with the different characters to level them up. However, if you want to stick to a single class for your entire playthrough and want an easy time with the game, we recommend going with the Mighty Knight.
The Mighty Knight is the tankiest of the three classes and his skills are also relatively easy to understand. The Fierce Huntress can also be a great choice for those who prefer fighting from a distance. The Mischievous Mage, while extremely strong in the late game, requires a bit more knowledge of the different builds and playstyles to truly maximize the damage output. You’ll also have to be more careful about mana management when you’re playing with the character inThe Slormancer.
